What Order Should You Do Home Renovations In? A Step-by-Step Guide

Planning a home renovation can be exciting, but knowing where to start is often one of the biggest challenges. Whether you’re renovating a single room, modernising an entire property, or undertaking a major extension, completing work in the right order can save time, reduce costs, and prevent unnecessary delays.
Many homeowners focus on choosing finishes before considering structural work or purchase new flooring before replacing windows, only to discover that parts of the project need to be redone.
So, what is the correct order for home renovations?
While every project is different, following a logical sequence helps ensure work progresses efficiently and reduces the risk of costly mistakes.
This guide explains the recommended order for renovating a home, helping you plan your project with confidence.
Why Renovation Order Matters
Renovating in the wrong order can create unnecessary expense and disruption.
For example:
- Decorating before electrical work may result in damaged walls.
- Installing new flooring before structural alterations can lead to costly repairs.
- Fitting kitchens before plastering or painting may increase the risk of accidental damage.
A well-planned renovation schedule helps:
- Save time
- Reduce costs
- Avoid rework
- Improve project efficiency
- Keep trades working in the correct sequence
Careful planning at the beginning usually leads to a smoother renovation from start to finish.
Step 1: Plan the Entire Project
Before any work begins, define your objectives and create a clear renovation plan.
Consider:
- Your overall budget
- Project timeline
- Planning permission (if required)
- Building regulations
- Design preferences
- Future requirements
This is also the ideal stage to speak with experienced professionals who can advise on materials, layouts, and construction options.
Step 2: Complete Structural Work
Structural work should always come before cosmetic improvements.
This may include:
- Extensions
- Loft conversions
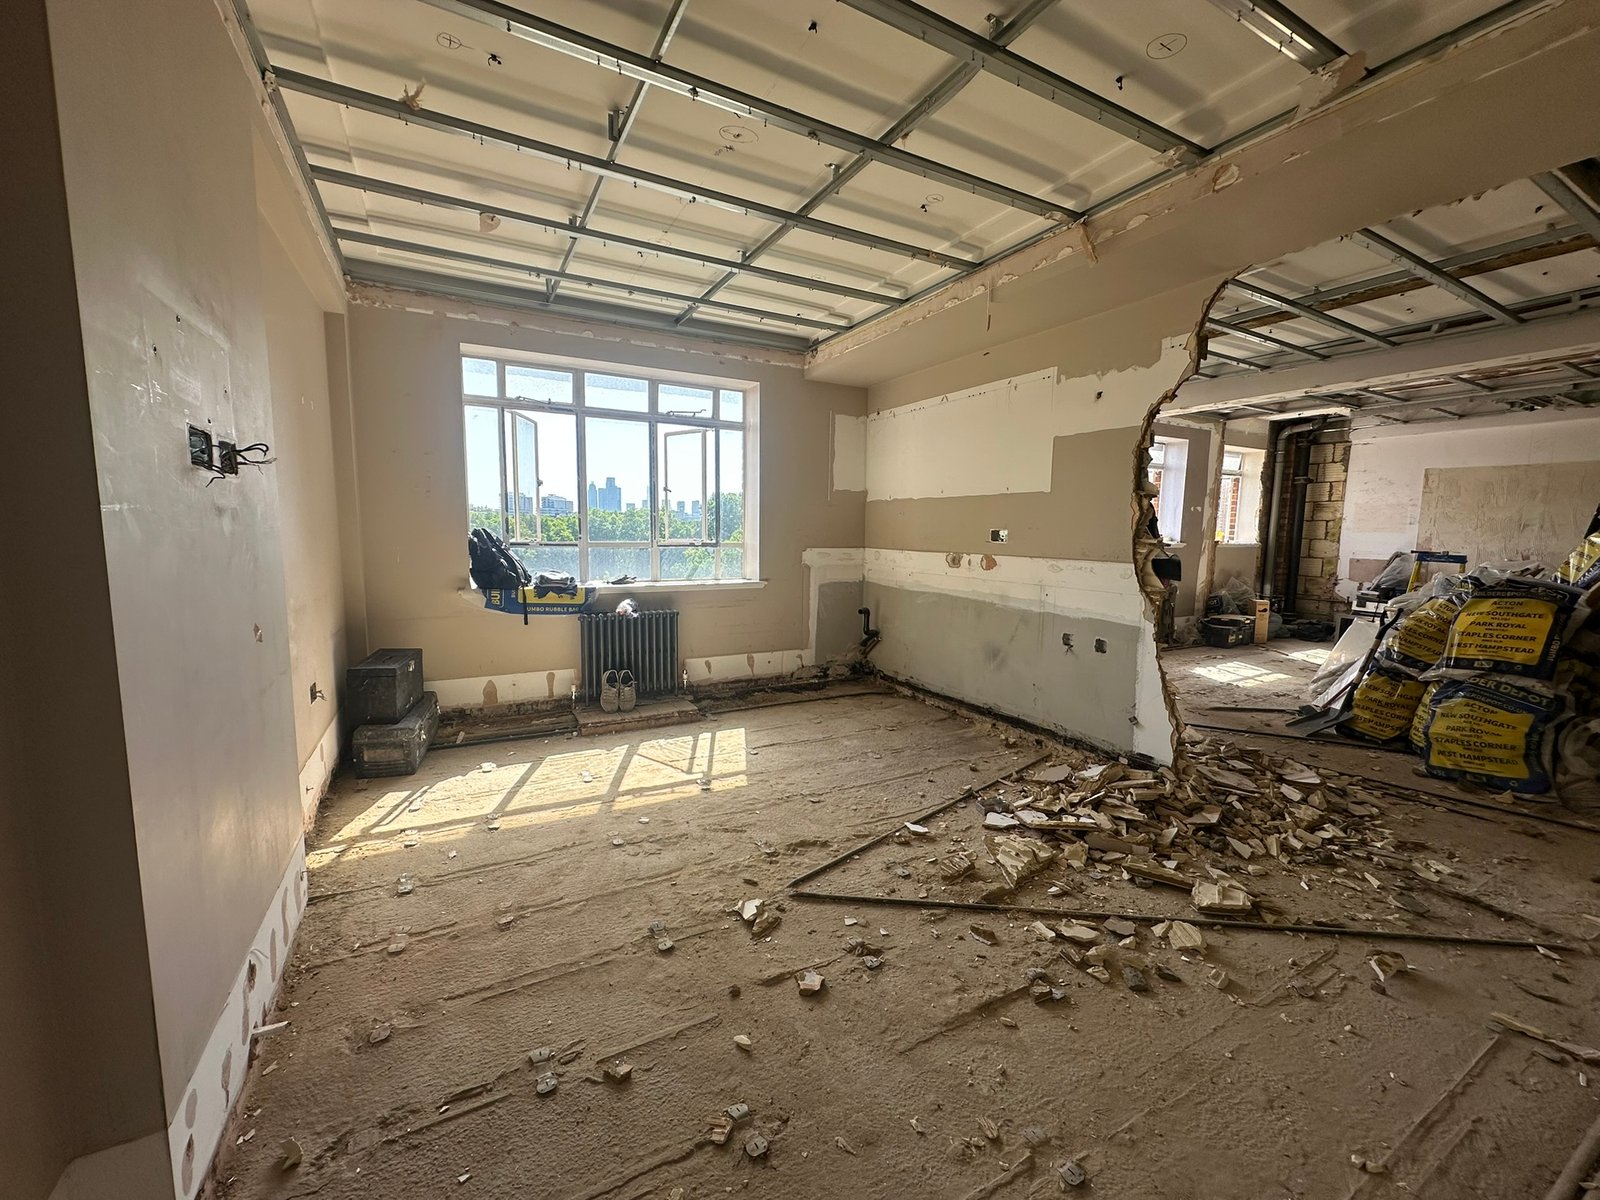
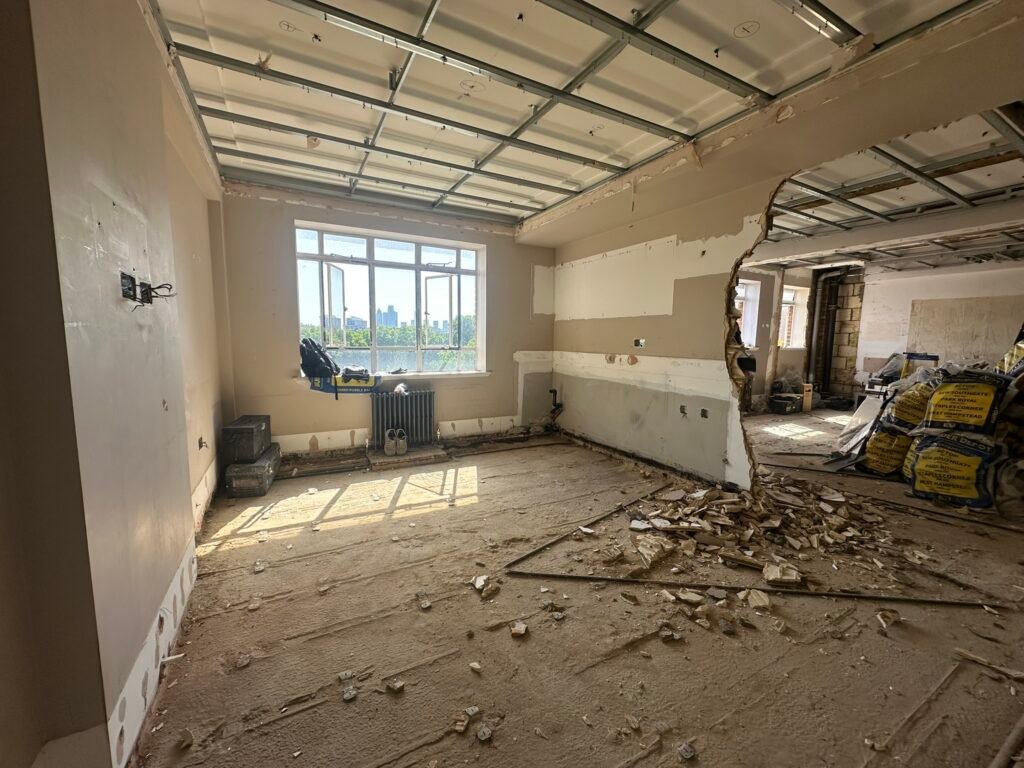
- Removing internal walls
- Installing steel beams
- Roof alterations
- Foundation work
Completing structural changes first creates a solid foundation for the rest of the renovation.
Step 3: Replace Windows and External Doors
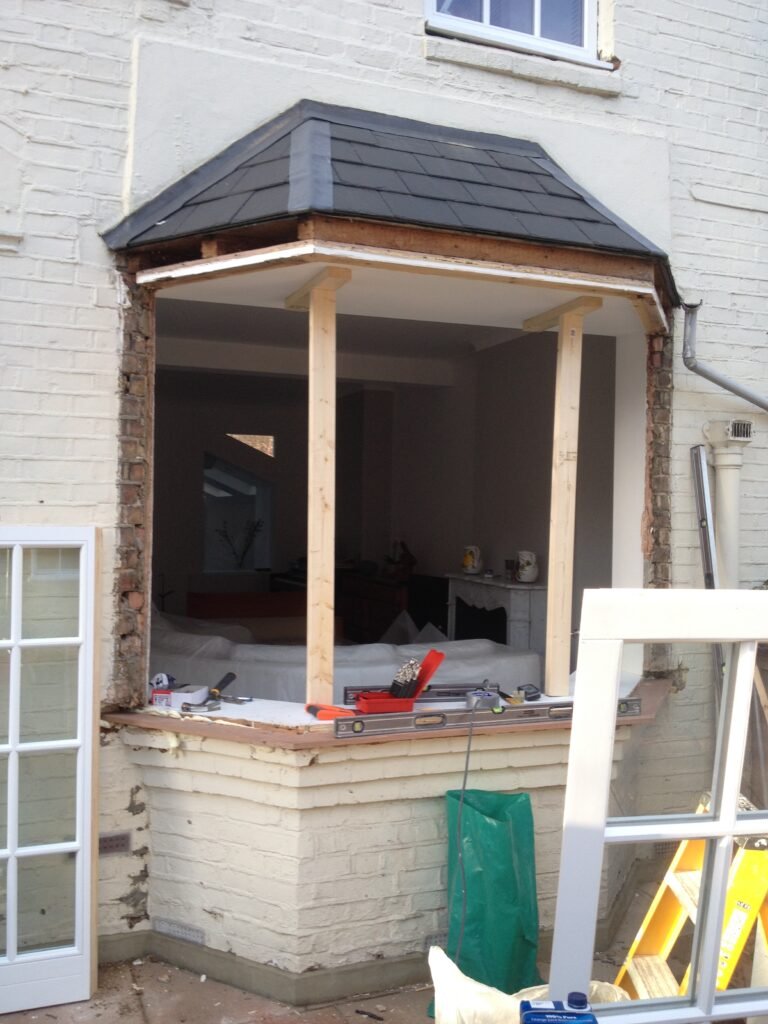
Once major structural work is complete, it’s usually the right time to install new windows and external doors.
Benefits include:
- Making the property weather-tight
- Improving energy efficiency
- Enhancing security
- Preparing the building for internal finishes
Installing glazing at this stage helps protect the interior while allowing following trades to work in a secure, enclosed environment.
Whether you’re choosing aluminium windows, uPVC windows, Crittall-style glazing, or premium entrance doors, fitting them before decorating helps avoid unnecessary damage to finished surfaces.
Step 4: First Fix Services
After the property is secure, first fix works can begin.
This typically includes:
- Electrical wiring
- Plumbing pipework
- Heating systems
- Ventilation
- Data and networking cables
These installations are completed before walls and ceilings are finished.
Step 5: Insulation and Plastering
Once first fix services are complete, insulation and plastering can take place.
This stage creates smooth internal surfaces ready for decorating and final installations.
Typical work includes:
- Wall insulation
- Ceiling insulation
- Plasterboarding
- Skimming walls and ceilings
Allow sufficient drying time before moving to the next stage.
Step 6: Flooring Preparation
Before installing final floor finishes, prepare subfloors where necessary.
This may involve:
- Levelling compounds
- Underfloor heating
- Screeding
- Moisture testing
Proper preparation helps achieve a better finish and improves the lifespan of your flooring.
Step 7: Second Fix Carpentry and Joinery
Once walls are finished, second fix work can begin.
This often includes:
- Internal doors
- Skirting boards
- Architraves
- Stair components
- Built-in storage
- Decorative joinery
These finishing touches begin to bring the property together.
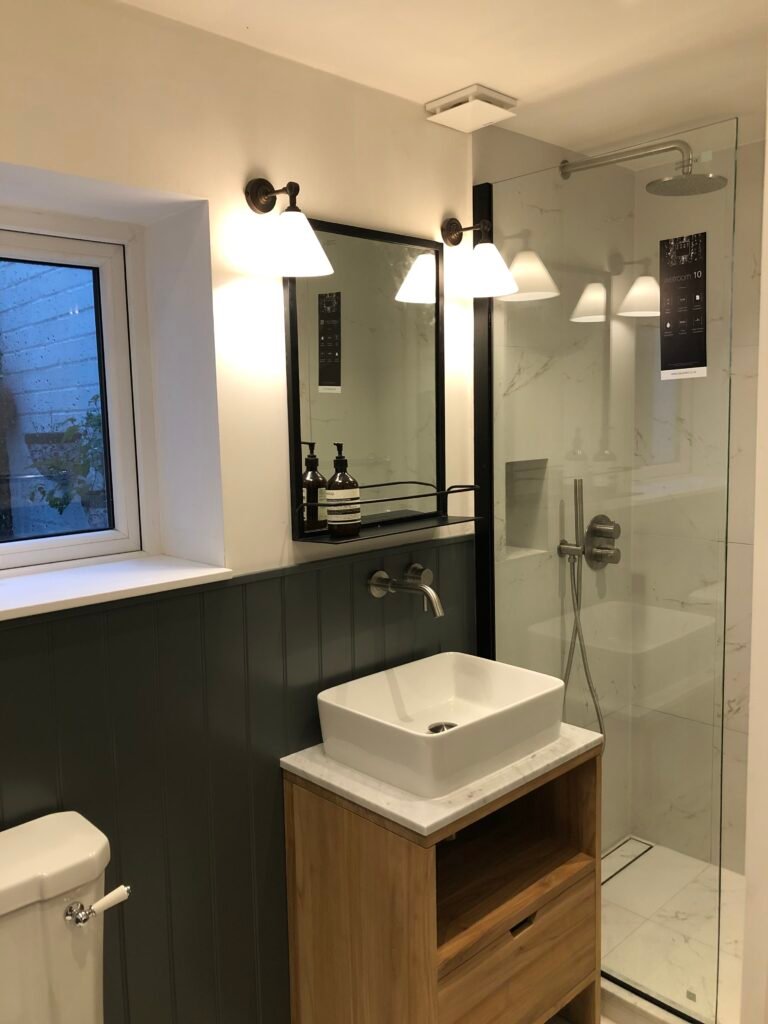
Step 8: Install Kitchens and Bathrooms
Kitchens and bathrooms are usually installed after plastering and second fix preparation.
This includes:
- Kitchen units
- Worktops
- Bathroom suites
- Tiling
- Mirrors
- Glass shower screens
Installing these later in the project reduces the risk of damaging expensive fixtures during construction.
Step 9: Decoration
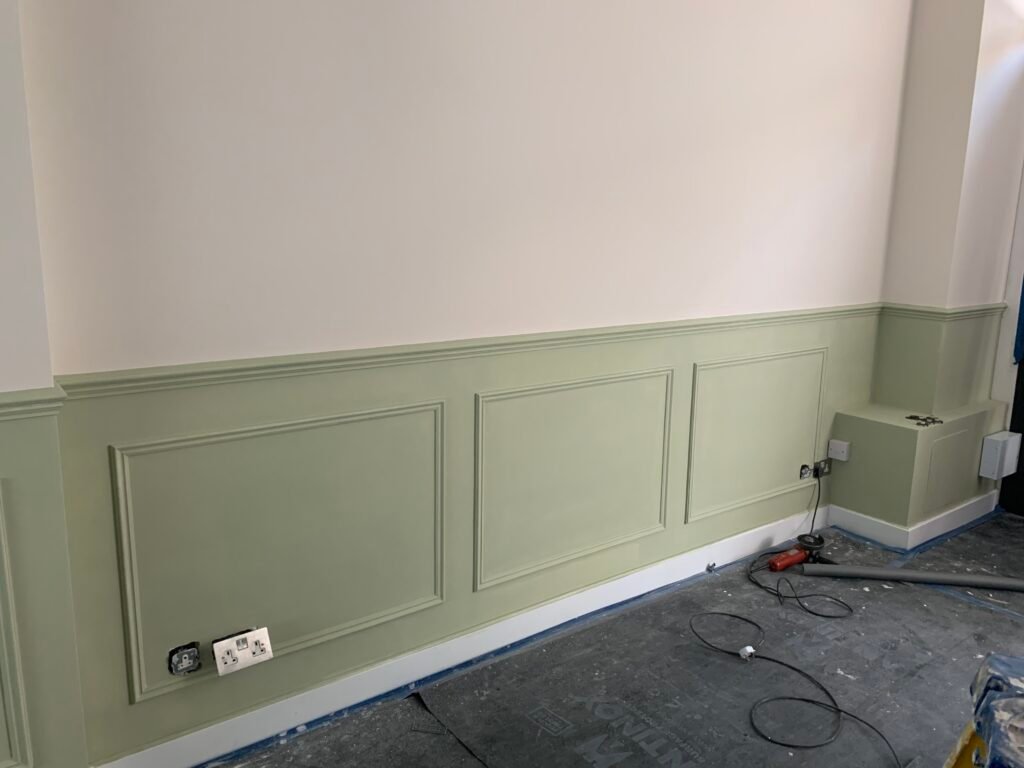
Painting and decorating should generally take place after the majority of construction work has been completed.
This includes:
- Painting
- Wallpapering
- Decorative finishes
- Feature walls
Many professionals apply an initial mist coat before final decorating once the property has fully dried.
Step 10: Final Flooring
Final floor finishes are often one of the last stages.
Examples include:
- Engineered wood flooring
- Luxury vinyl flooring
- Tiles
- Carpets
Installing flooring near the end of the project helps protect it from damage caused by heavy construction traffic.
Step 11: Final Fixtures and Finishing Touches
The final stage includes:
- Light fittings
- Door handles
- Switch plates
- Mirrors
- Shelving
- Window dressings
- Final cleaning
At this point, the property is ready to enjoy.
Common Renovation Mistakes to Avoid
Many homeowners encounter similar issues during renovation projects.
Avoid these common mistakes:
Decorating Too Early
Painting before electrical or plumbing work is complete often results in unnecessary repairs.
Installing Flooring Too Soon
Heavy foot traffic and ongoing construction can damage new flooring.
Buying Products Before Final Measurements
Ordering bespoke products before dimensions are confirmed can lead to costly delays or replacements.
Focusing Only on Appearance
Structural integrity, insulation, energy efficiency, and quality materials should always come before cosmetic finishes.
Typical Home Renovation Order at a Glance
For most renovation projects, the recommended sequence is:
- Planning and design
- Structural work
- Windows and external doors
- First fix plumbing and electrics
- Insulation and plastering
- Flooring preparation
- Second fix carpentry
- Kitchens and bathrooms
- Decorating
- Final flooring
- Fixtures and finishing touches
Following this order helps keep your renovation organised and reduces the likelihood of unnecessary delays or rework.
Final Thoughts
Every renovation project is unique, but completing work in the correct order can make a significant difference to both the outcome and the overall experience. Careful planning, quality materials, and experienced professionals all contribute to a smoother, more efficient renovation.
At No1 London, we provide far more than premium windows and doors. We support homeowners, developers, and property professionals with a wide range of construction and renovation services, helping bring projects to life from initial planning through to completion.
Whether you’re replacing windows, installing bespoke glazing, building an extension, converting a loft, renovating an entire property, or undertaking structural improvements, our experienced team is here to help, advise, and assist every step of the way.
As a trusted supplier and construction partner across London and the surrounding areas, No1 London is committed to delivering quality workmanship, premium products, and tailored solutions designed for long-term performance, style, and value.
Because a successful renovation isn’t just about choosing beautiful finishes. It’s about doing the right work in the right order.